
How to change colours neatly in crochet?
- Jan 31, 2024
- 2 min read
In many LittleOwlsHut patterns, you have to change color while crocheting. Using different colors is a nice way to make your toy unique, and it is quite easy.

We use this technique when making Dogs,

potholders and other toys.

Here is how you should do it:
Come to the point where you need to change colors. It does not matter if it is the end or the middle of a row/round. The point is that the last stitch of main color has to be finished with the new color. When you have two loops left on your crochet hook and you are about to complete a stitch (single crochet, double crochet, triple crochet, etc.), pick up the new color and finish your stitch with it. Here is our photo tutorial to make the process clearer. It describes how to change colors while working single crochet. However, the principle is the same for other type of stitches.
“A” stands for the main colour, “B” stands for the new colour.
1. Work with your main yarn up to the point where you want to change colors. Leave the last stitch unfinished. You have two loops on your hook.

2. Pick up the color B yarn, leaving a tail (see picture). Pull the color B yarn through both loops on the hook.

3. Continue working with the color B yarn. Work the next stitch as follows. Insert your hook into the next stitch and then under both the colour A yarn and the tail you have left when you joined the color B yarn. Yarn over with the colour B yarn and complete the single crochet so the colour A yarn and the colour B tail of yarn are crocheted into the fabric. Work two more stitches the same way. Make sure yarn tails that are crocheted over do not tighten the piece.


4. Cut the color A yarn and continue working with the color B yarn.
5. Leave the last stitch unfinished. You have two loops on your hook.

6. Pick up the colour A yarn, leaving a tail. Pull the color A yarn through both loops on the hook.

7. Continue working with the color A yarn. Work the next stitch as follows. Insert your hook into the next stitch and then under both the color B yarn and the tail you have left when you joined the color A yarn. Yarn over with the color A yarn and complete the single crochet so the color B yarn and the color A tail of yarn are crocheted into the fabric. Work two more stitches the same way.


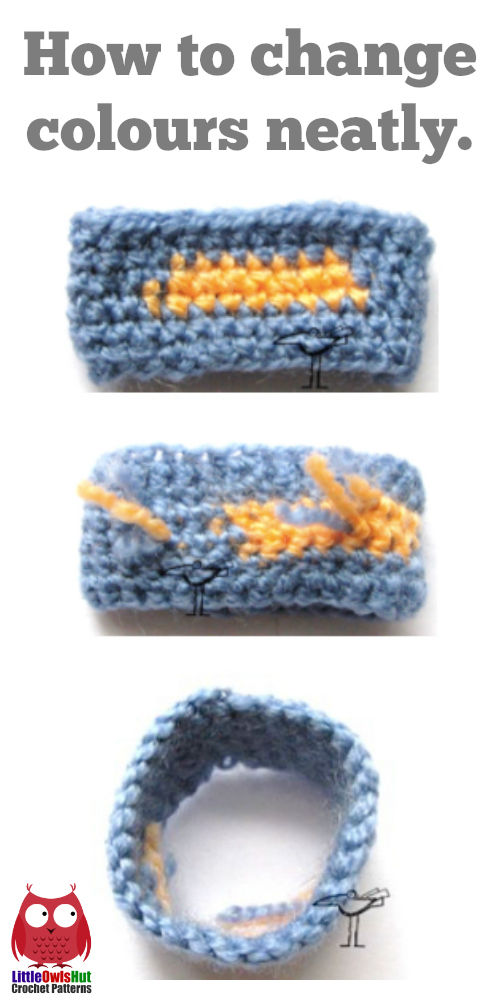
8. Cut the color B yarn and continue working with the color A yarn. As you can see, you save yarn working this way, get a nice right side as all the tails remain on the wrong side of the piece. Your work is neither tightened nor misshapen.


In conclusion, we advise that you practice the technique with some scrap or leftover yarn until you are satisfied with the result and ready to practice it with your project.
You can save this article to your Pinterest board so you can always find it later.
Here is the picture for you.


Comments