
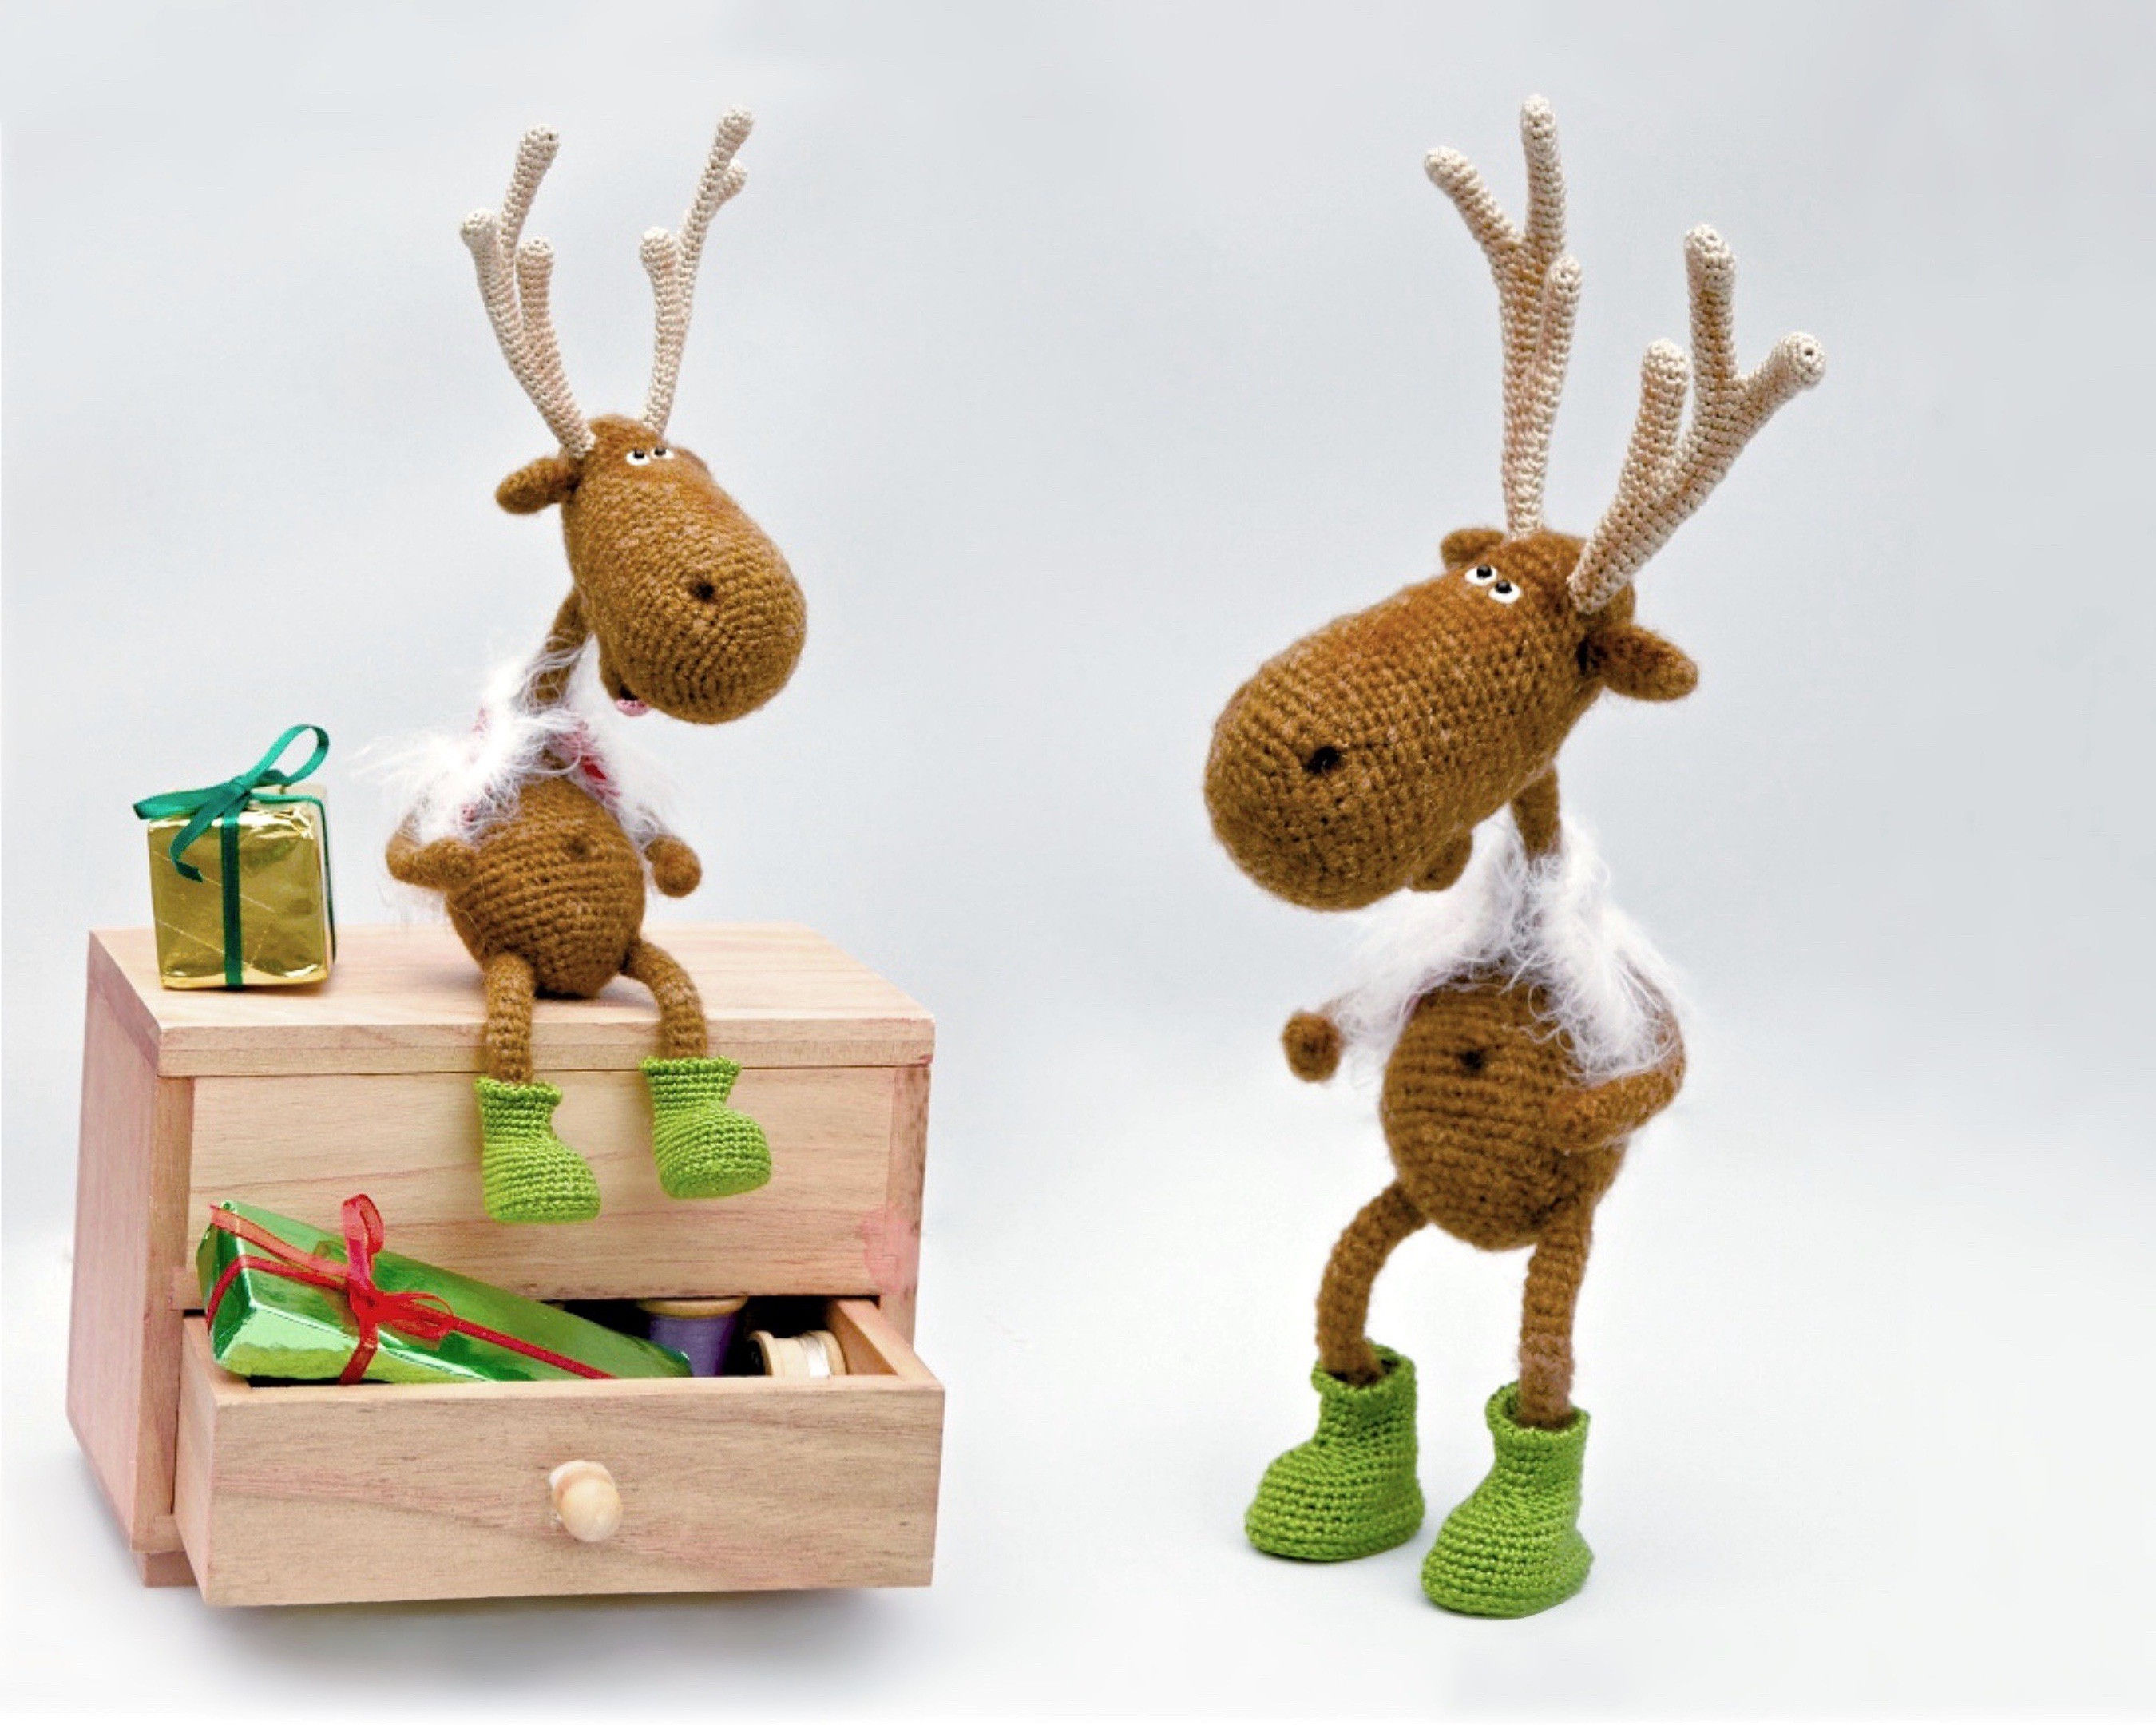

A funny long-legged reindeer with tall branching antlers, a cheeky smile and a little pink tongue – dressed in a red vest with a fluffy white trim and bright green boots, holding a small beaded Christmas tree. A wire frame lets him sit on a shelf, stand or hug his tree.
A crochet pattern by Olga Borisenko with step-by-step instructions and photos, including the vest, the boots, the Christmas tree and tips for tinting. A charming Christmas decoration and gift.
This listing is for an INSTANT DOWNLOAD PDF PATTERN, not a finished project.
LANGUAGE:
--------------------------------------
The pattern is in English.
SKILL LEVEL:
--------------------------------------
Intermediate
FINISHED SIZE:
--------------------------------------
Approx. 21 cm (8.5 inches) tall (with the antlers).
SKILLS REQUIRED:
--------------------------------------
Crochet in rows
Crochet in rounds
Single crochet
Increasing
Decreasing
Double crochet
Sewing (assembly)
Wire frame
MATERIALS AND TOOLS:
--------------------------------------
• 30 g light brown yarn for the main parts (e.g. RAM Angora, 500 m / 100 g).
• A little beige yarn for the antlers – about half as thick as the main yarn (e.g. Pehorka Elitnaya, 415 m / 50 g).
• A little pink yarn (e.g. DMC Coton Perlé 8) or pink felt for the tongue; red yarn and white fluffy yarn (e.g. YarnArt Tecno) for the vest; green yarn for the boots; green and brown cotton for the Christmas tree.
• Steel crochet hooks 1.25 mm (main parts and vest) and 1.0 mm (antlers).
• White felt for the whites of the eyes and two small black beads for the pupils.
• Single core copper wire, 3 mm, about 60 cm + 10–15 cm for the tree; adhesive fabric plaster 1 cm wide.
• Plastic or thick cardboard for the boot soles; coloured beads to decorate the tree; brown eye shadow for tinting; transparent glue.
• Stuffing, sewing and tapestry needles, black, green and brown sewing thread, a wooden stick for stuffing.
ABOUT THIS PATTERN:
--------------------------------------
The pattern is written using US terminology (UK differences are explained).
17 pages of step-by-step instructions with tips and photos illustrating the process.
